Owning a home is a responsibility as much as it is an achievement. It has to be maintained and most of the time, these maintenances are not cheap.
With the increasing cost of living in Israel and the rise in housing costs, it is not out of place to reduce the cost of maintaining a home by doing some of the repairs yourself.
One of the ways to reduce the cost of maintaining a home is by doing some of the repairs yourself.
However, there are some repairs that are not recommended using the Do It Yourself (DIY) method. They are best fixed by hiring a professional.
Meanwhile, home protection plan also called home warranty can help to reduce your overall cost of maintenance and also save you the stress of DIY.
In case you are wondering what is home protection plan? It is a contract that provides homeowners repairs and replacements at discounted prices, usually valid for a period of one year when it is due for renewal.
Anyways, there are some home repairs you can do yourself.
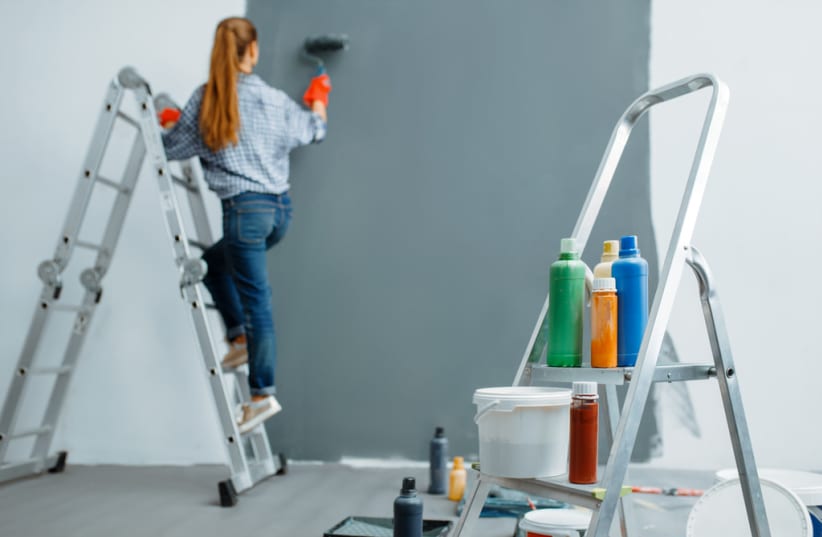
Painting
Painting is a task that is not strange to many homeowners. You have not owned the property for long if there are no paintbrushes in your garage or basement; except you usually request the service of a professional painter.
Whether for a room or to cover wall patches, painting is one of the easiest DIY home repairs. The interesting thing about it is that if things go wrong, they can be easily fixed.
How to do a DIY painting
- PlanFirst, paint a picture of the finished work in your head. Decide how you want the room to look. Check all the areas that need painting to estimate the amount of paint you will need.
- Choose a colorConsider the feeling you want the room to exude. Red and yellow are considered to exude excitement and delight. Blue and green give a calm and relaxed feel.
Before choosing a color, get adhesive swatches and stick them to the wall to examine how well the color suits your plan.
- Get the needed toolsThe tools you will need for the DIY painting will be determined by the type of paint you are using, the wall type, the condition of the wall and the height of the areas you intend to paint. Irrespective, some of the tools you will likely need include paint, paintbrushes puffy knife, paint roller and extension pole, rags, sandpaper, and painter’s tape.
- Arrange the room and prep the wall
Move items out of the room to avoid paint staining them. It is inevitable, the paint will splatter. Cover items that you are unable to move with drop cloth including outlets and switches.
- Mix your paintStir the paint before use so that the ingredients will blend. If you are mixing more than one paint, mix them in a bucket or suitable container to avoid variation in color.
It is also recommended you buy the paints from the same brand for color consistency.
- Paint with your preferred technique
There are different painting techniques to choose from, such as antiquing, checkers, color washing, crackling, ombre, and stencils, among others. There are thousands of YouTube videos you can watch to learn any of these techniques.
Replacing outlets and light switches
Replacing your outlet and light switches can be done using DIY, however, if you are scared of electricity sparks, you may get a professional to handle it.
Always read the manufacturer’s installation instructions before you commence this DIY.
How to replace outlets and light switches yourself
- Turn off power supplyTurn off the power to the outlet or light switch from the main circuit breaker box. Mark the breaker switch with tape so that no one will unknowingly turn it back on.
- Unscrew old wall plate
Unscrew the wall plate using a screwdriver. Flathead and star-shaped screwdrivers usually do the magic. If it has been painted over, you can use the tip of your screwdriver to score around it.
- Confirm the presence of powerSince you already turned off the power from the circuit breaker, the switch connection is expected to have no electrical power supply. Use a circuit tester to confirm in case you switched the wrong circuit breaker or there is an error in the overall connection.
- Disconnect the switch or outlet from the wireOnce it is confirmed there is no power in the switch, remove the screws holding the wires. Note how they are arranged before you unscrew them and compare them with the new switch layout.
- Connect the new switch or outletArrange the wires as seen in the old switch. Tighten the corresponding screws to keep the wires in place. Also, check the orientation, screwing it back to the wall.
Replacing a faucet
Corroded pipes and the inability to reach nuts and fittings is the reason why the most difficult part of replacing a faucet is removing the old or faulty one.
The manufacturer’s installation instructions will guide you in replacing it.
How to replace a faucet yourself
- Shut off the waterFaucets usually have two valves which can be found under the sink. One for the heat and the other for the cold-water supply.
If you are unable to locate the valve, shut the water from the water heater or the main valve.
- Remove old faucetThe old faucet is held in place by retaining nuts, probably beneath the sink. In case it is difficult to access, use a basin wrench. Some faucets come with a socket wrench for this purpose.
- Install the new faucetFollow the manufacturer’s guide to installing the new faucet. Make sure the faucet fits your arrangement, specifically the location of holes in your counter or sink.
Installing a wall heater
If you have a room that is too cold, running an HVAC duct might not be possible or economical. On the other hand, a wall heater can fix the problem.
If there is an electrical connection close to the space you intend to install the wall heater, it is something you can handle yourself.
How to replace a wall heater yourself
- Map out space for the installationThe heater should be installed at a position where it is impossible to be blocked. Avoid spaces like those behind a door or cover. The location should also be easy for you to run a wire through the wall.
- Find a studMark an outline of the wall heater on a stud. This will reinforce the heater support. Some heaters however fit directly in the drywall and do not need to be attached to studs.
- Turn off power supplySwitch off the power supply to the nearby circuits before you start installing the electric wall heater.
- Cut an outline with a drywall saw
Cut an outline of the water heater on the wall. Watch out for pipes and wires when doing this.
- Install circuit breakerInstall a circuit breaker for the wall heater to control the circuit in case you may need to repair or change it.
- Install the wall heaterFollow the manufacturer’s guide to install the wall heater. Power it to check if everything works fine. In case there is a complication, do not hesitate to get an electrician.
Unclog a Clogged Garbage Disposal
Garbage disposals are usually in need of repair since they are prone to clog. The disposal can get clogged by a lack of flushing water, grease, oil and coffee grounds, among others.
How to fix clogged garbage disposal yourself
- Check for the clogMake use of a flashlight to peep inside the disposal to see if you can sight the clog.
- Flush with baking soda and vinegarTo fix clogs caused by grease and oil, pour baking soda into the garbage disposal. This should be followed by flushing it with vinegar. Wait for about 20 minutes before pouring hot water down the pipe.
- Remove the P-TrapBefore doing this, place a bucket under the drain trap. Loose the nut on the drain trap using a plier.
- Check the trap for clogsExamine the trap for clogs. If there is any, get rid of it. You may use a scrub brush for effective cleaning of the trap.
- Check the trap armIf there is no clog in the trap, then check the arm, it is possible the clogs are accumulated there.
- Examine the branch drainThe next place you want to check after the trap and trap arm is the branch drain.
- Reassemble and flush the drainOnce all of the possible places clogs could accumulate are cleaned, reassemble the disposal then flush for several minutes.
This article was written in cooperation with Cinch Home Services